
I brought this magnificent (note the dripping sarcasm) piece of machinery home with me during one of my flea market outings. This is a late model Stanley #4. Its painted Blue, made in the US, has a painted cap, a shorter iron than vintage, and no toe on the tote. The knob and tote is painted black, it has an aluminum frog and a pretty cheezy lateral adjuster. If your still looking, check out what I have for sale.
If you’re looking for a full restoration, Check out the BENCH PLANE RESTORATION GUIDE
Now….why anyone but someone with a sickness for hand planes like me would buy this plane is a little beyond my understanding, unless it was given to you or almost given to you. A note, I’d rather have one of these than any handyman though, and I’d put them in a pretty close running with a Defiance line hand plane. Again, the Defiance can be made to work well pretty consistently, but it takes a little more love than a Stanley Bailey vintage or equivalent.
So the following is some advice on how to make almost any plane work well. I’ll try to separate out my experience in the differences between these and vintage plane.


If your plane needs a full restoration, as in stripping, painting, and parts replaced, go to either my restoration blog or Making a tote blog
Sharpen it
So here is what you do. First sharpen it. It doesn’t matter what your taste in sharpening is as long as it works for you. It MUST be sharp.
Polish the end of the cap iron
Polish the end of the cap iron This is more important than many people think. It helps with the breaking of the chip.
Check and fix the cap iron if needed. The cap iron must have good contatact with the iron. Any gap at all will collect chips, and clog. Make sure its clean and tight. It should be re-rusted by now with whatever you decided (if it needed it), or you can just wire brush it. I go into more detail here.
Flatten the frog. File the frog flat. I lock it in a vise and hold the file flat while filing it. It doesn’t need to be perfect. Some like to polish this as well, but its not really necessary.

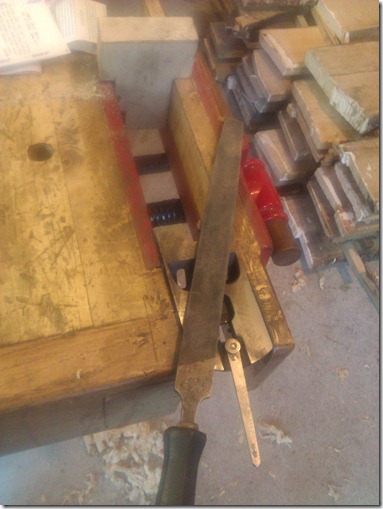
or if you want to use a metal vise, just line the jaws with aluminmum.

here is the aluminum frog flattened. The aluminum actually took a lot to flatten, but flatten quickly because …… well,…….its aluminum. I’m also not thrilled with the amount of contact area on the Blue frog, but in the end, it did work reasonably well.

Check the frog seating
Also check the frog seating. I very seldom have to do this on a vintage plane, but once in a while one does not seat properly. You can use valve grinding compound and usually it doesn’t take much. In my latest restore I used a block of wood and sand paper.


The best way to tell if it needs seating is as your tightening the screws, or just force the frog down on the seat. You should feel no rocking. You can also use some machinist blue to ensure you’re getting good contact with the two parts.
Next flatten the sole. (see my “How flat does my smoother sole need to be” Blog)
Use a piece of granite or a table saw top. If it proves to be real bad, I’ll start it on the belt sander, like I do the sides, but I always finish it on the flatter surface of the table saw. Turn the plane front and push in all directions to keep it flat and even.
For longer planes, use sand paper from a role or cut a belt for the task.
Note, I’ve found the older the plane, the less flattening it’ll need. You’d think just the opposite would be true with advancements in manufacturing, but anything made after the 60’s usually makes it to the belt sander. The Blue stanley took longer than most I’ve ever done.


As I’m putting everything together I give it a coat of Fluid Film to keep the rust away.

Or Wax it

The knob and Tote
You will decide how much the knob and tote needs but here are a few tricks to help.
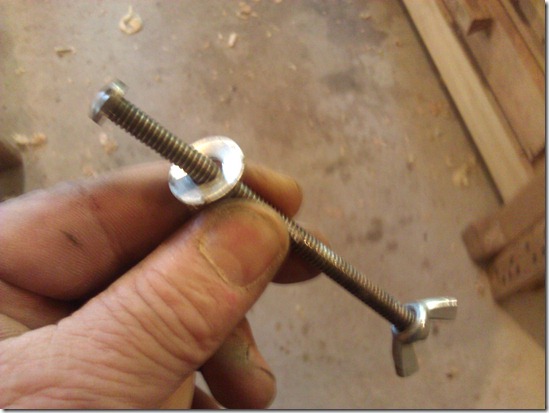
I chuck the knob in the drill press.

Grind the head so it fits in the hole (were possible). Put a washer on the bottom of the knob.

I use a bolt with a 1/4” Philips head that’s been ground down slightly so it fits inside the knob where the brass nut goes. Tighten it down with a washer and chuck it in the drill press. Only chuck it hand tight so you don’t trash the threads.

Sand it with 60 grit if it still has a varnish or hard finish. then up through 500 (or more if desired) grit. If it had an oil finish I’ll start with 220 grit. First few coats of BLO goes on with steel wool while in the drill press. If the existing finish is hard, it is usually easier to scrape it first.
This also helps with waxing. You can spin it fast enough in a drill press to heat the wax.
For the tote, I haven’t found an easier way than possibly scraping if its a hard finish, and sanding as you would any other piece of wood.
Finish the wood with boiled linseed oil (BLO). If its a really dry old piece, soak it in the BLO overnight.
Troubleshooting.
If the mouth is to wide, its pretty hard to fix. You can slide the frog ahead just so far. If its still to wide, you have a couple of options.
1. Turn the plane into a jack
2. Buy a thicker iron.
3. Make it a paper weight.
I’ve test with shimming and haven’t had a whole lot of luck.
Chatter
1. make sure its sharp
2. make sure your not taking to big of a bite. Thin down the shavings.
3. check the frog for both flatness, make sure the screws are tight, and make sure its seating well.
4. Don’t go buy a thicker iron thinking it will fix it.
Then enjoy the results

I hope it helps and thanks for stopping by.