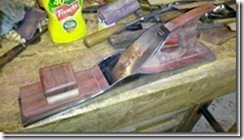
Building the infill Plane.
A while ago I got a Sargent #422 (Stanley #7 size) that was cut from 22” down to 18”, frog was broke, it had a Stanley iron and knob and tote was missing and it was missing most other major parts so it sat on my bench for a long time. I wasn’t sure what I was going to to with it, then this idea stuck me. I decided Building the infill Plane was the way to go.
The infill is made from blood wood, the accent is cherry. Its epoxied to the base.
The knurled knob is made from 3/4” copper pipe with a 1/4” x 20- bolt and bloodwood epoxied into it. I used a file to cut the grooves.
The finish is Brush Oil.
I started with a Sargent #6 base. This was originally a 422 which had been cut down. The frog was broke, lat adjustment missing, no iron or chip breakers, so it became the perfect specimen.
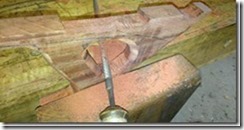
I left the metal behind the frog intact. It seemed easier to notch the wood around it than grind it off. I think it would help hold the epoxy as well. I did grind the front rise where the knob screwed into however.
I made the knob separate. I wasn’t sure if I wanted some alternate wood in there or not. I chose a piece of cherry scrape and I liked the look, so I t became part of the plan.
I’ve been asked why I put the knob on perpendicular. The knob sat on the plane on the bench and I kept turning it. I just liked the way it looked when the grain was perpendicular so that’s the way it went together.
Looking through my parts pile I found a chip breaker the perfect size without the adjuster hole. This is still a Stanley iron. I haven’t decided if I’ll use something I have or order a new iron yet.
After some inspiration from the guys over at woodworkerstalk.com I decided to make a knurled bolt. I didn’t take many pictures along the way, I’ll try to remember next time, but its just a piece of wood stuffed in 3/4” copper pipe, and the bolt all epoxied together.
Then, on to the lever cap!!


